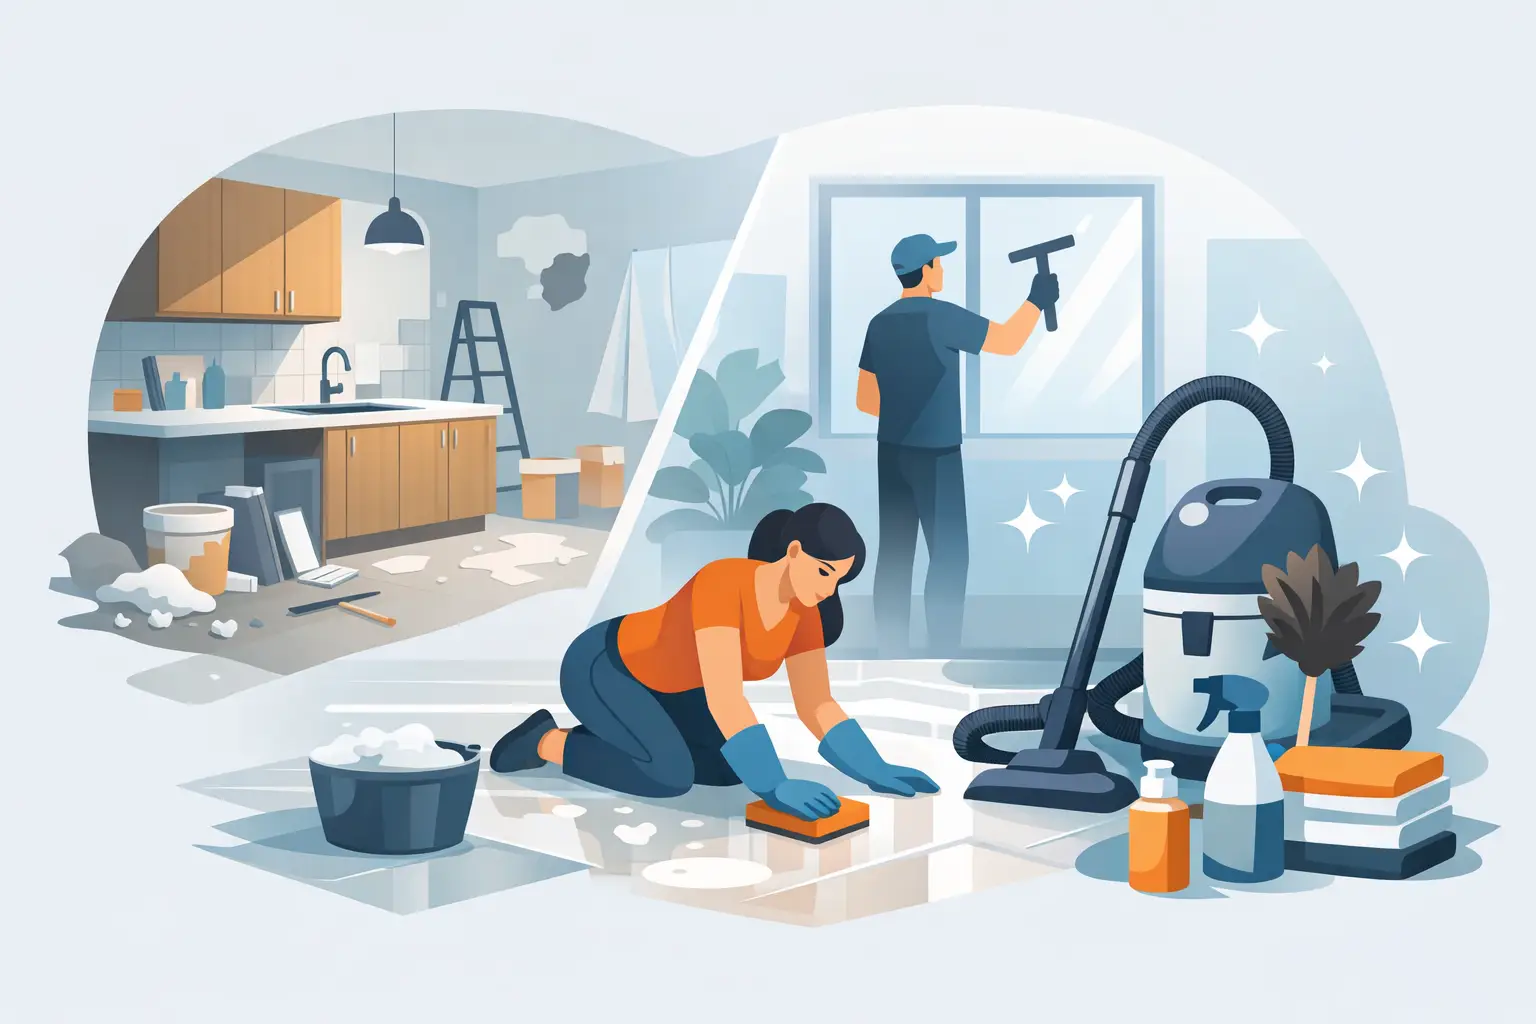


A renovation can look finished the moment the last contractor leaves, but the fine white film on floors, cabinets, vents, and window tracks tells a different story. Dust removal after renovation is not a quick sweep and a wipe-down. Drywall dust, sawdust, grout residue, and construction debris can keep moving through a home or business long after the work is complete.
For Palm Beach County property owners, that lingering dust is more than a presentation issue. It can affect indoor air quality, settle into soft furnishings, leave floors dull, and make a newly improved space feel unfinished. A detailed, methodical clean is what turns a renovated room into one that is actually ready to live in, work in, or show to guests.
Why renovation dust needs a different approach
Normal household dust is usually made up of fibers, skin cells, soil, and outdoor particles. Renovation dust is often much finer and more abrasive. Drywall compound can spread easily through air movement, while wood dust, tile debris, and paint particles collect in places that are easy to miss.
That difference matters because ordinary cleaning habits can make the problem worse. A dry broom pushes fine dust back into the air. A standard vacuum without proper filtration may release particles through its exhaust. Wiping a dusty surface with a dry cloth can scratch finishes, especially on new cabinetry, glass, stainless steel, and dark countertops.
The goal is not simply to make visible dust disappear. Effective post-renovation cleaning removes it in layers, starting high and working down, while using equipment and products that capture residue instead of redistributing it.
Dust removal after renovation starts with containment
Before cleaning begins, take a close look at the space. Construction dust may be limited to one room, but it often travels through open doorways, return vents, hallways, and shared air systems. In an office, dust can also settle on desks, electronics, shelving, and files outside the active work area.
Keep doors closed to unaffected rooms when possible. Remove or cover clean textiles and belongings before disturbing dusty surfaces. If the renovation is still underway, ask contractors to use protective barriers and keep work-zone debris contained. This will not eliminate the final cleaning need, but it can reduce how far dust travels.
It also helps to check the HVAC system before turning it on for extended periods. A fresh filter is a smart first step after dusty work. If substantial debris reached vents or returns, the system may continue circulating fine particles until those areas are addressed. For larger projects or anyone with allergies, asthma, or respiratory sensitivities, extra care around air quality is worth the effort.
Clean from top to bottom, not room to room at random
A reliable cleaning sequence prevents repeat work. Start with ceilings, light fixtures, vents, crown molding, and upper shelves. Then move to walls, doors, cabinets, counters, and windows. Finish with baseboards, floors, and final touch-ups.
This order matters because dust falls. If floors are cleaned first and upper surfaces are handled afterward, the floor will need to be cleaned again. The same rule applies to bathrooms and kitchens, where fine residue can settle in drawers, inside cabinets, around faucets, and along tile edges.
Begin with a HEPA-filter vacuum
A HEPA-filter vacuum is useful for floors, baseboards, upholstery, vents, blinds, and other surfaces that can safely be vacuumed. Use soft brush attachments for delicate areas. Vacuuming before wet wiping removes loose material and helps prevent the muddy streaks that form when fine drywall dust mixes with water.
Take your time around corners, window sills, trim, and floor transitions. These are common collection points. For carpeted areas, several slow passes may be necessary. Newly installed carpet can hold construction dust deep in the fibers even when it looks clean from the doorway.
Follow with damp microfiber cleaning
After loose dust is captured, use clean microfiber cloths lightly dampened with an appropriate cleaner or water. Microfiber attracts and holds fine particles better than paper towels or old cotton rags. Change cloths frequently rather than using one dirty cloth across the entire space.
Use only enough moisture to lift residue. Oversaturating unfinished wood, drywall, grout, or cabinetry can create damage or streaking. For painted walls, test a small inconspicuous spot first. Fresh paint may need time to cure, and aggressive scrubbing can leave visible marks.
Do not overlook the detailed surfaces
Post-renovation dust hides in places that rarely receive attention during weekly cleaning. This is where a space can still feel gritty or look hazy even after the obvious mess is gone.
Detailed dust removal should include interior window frames and tracks, blinds, door frames, baseboards, outlet covers, switches, cabinet interiors, drawer boxes, closet shelves, and appliance exteriors. Light fixtures, ceiling fans, vent covers, and the tops of doors deserve the same attention.
Windows often need extra work after a renovation. Fine residue can cling to glass and leave streaks when cleaned too quickly. The surrounding tracks and frames should be vacuumed or wiped first, then the glass can be cleaned with fresh tools for a clear finish.
In kitchens, check inside every cabinet and drawer before loading dishes or cookware. In bathrooms, clean around toilet bases, under vanity edges, inside medicine cabinets, and along grout lines. These are small details, but they make the difference between a room that looks recently renovated and one that feels fully ready.
Treat floors based on the material
Flooring requires the right method, particularly when it is new. The wrong cleaning product or tool can leave haze, scratches, or a dull finish that is difficult to correct.
Hardwood and luxury vinyl floors should be vacuumed with a soft-floor setting or attachment, then cleaned with a manufacturer-safe product. Avoid abrasive pads and excessive water. Tile floors may need more than one pass because grout dust and thinset residue collect at edges and in texture. Natural stone requires a pH-neutral product to avoid etching or discoloration.
For carpet, thorough vacuuming is essential, but it may not be enough after a major project. If dust has settled deeply or contractors tracked in soil, a professional carpet cleaning service may be the practical next step. It depends on the scale of the renovation, the type of debris, and whether occupants have already begun using the space.
Know when a post-renovation cleaning team makes sense
A small cosmetic update may be manageable with the right tools and time. A major kitchen remodel, bathroom renovation, commercial build-out, or whole-home project is different. The volume of dust, the number of surfaces, and the need for a presentable finish can make professional cleaning the more efficient choice.
A detailed post-construction clean is especially helpful when a property must be ready for a move-in, a final walkthrough, a tenant turnover, or incoming short-term rental guests. It gives homeowners, contractors, property managers, and business owners one less deadline to manage.
Roenter Clean provides detailed post-construction cleaning for homes and businesses that need more than a surface-level reset. The work should include a structured assessment, deep dust removal, detail finishing, and a final quality check so the completed renovation looks as good as it should.
Avoid the mistakes that bring dust back
The most common mistake is cleaning too fast and too dry. Sweeping powdery residue, using dirty mop water, or turning on the air conditioning before changing filters can send particles right back through the space.
Another mistake is assuming one cleaning pass will solve everything. Fine dust settles over time, especially after doors open, air starts circulating, or furniture is moved into place. Many projects benefit from an initial detailed clean followed by a lighter final wipe after a day or two.
Wait to place clean linens, paper files, dishes, and decorative items until the major dust removal is complete. Otherwise, those items become another surface to clean. For rental hosts and property managers, schedule the final clean close enough to the handoff date that the property remains guest-ready without creating pressure for contractors or cleaners.
A renovation should end with clean air, clear windows, dust-free surfaces, and floors that feel finished underfoot. When the cleanup is handled with the same attention given to the renovation itself, the space is ready for what comes next.