

A finished renovation can look impressive until sunlight hits the floors and reveals a fine layer of dust on every surface. This post construction cleanup guide explains how to handle the mess left behind after building, remodeling, or repair work so the property is clean, safe, and ready to use.
Post-construction cleaning is not the same as routine cleaning. Drywall dust settles inside cabinets, paint specks cling to glass, adhesive residue sticks to floors, and small debris can hide in corners, vents, and window tracks. A detailed process prevents those leftover materials from affecting the appearance of a newly completed space.
Start Only When the Work Is Truly Complete
Cleaning too early is one of the most common causes of wasted time. If painters are still touching up walls, flooring installers are still working, or contractors have not removed their tools and materials, dust and debris will return quickly.
Before beginning, walk through the property and confirm that construction crews have removed large waste, unused supplies, and equipment. Make sure water, electricity, and HVAC systems are operating. This allows you to check fixtures, test appliances, vacuum safely, and spot issues that may need the contractor’s attention.
Take photos before cleaning if the project is new or if multiple vendors are involved. This creates a clear record of the property’s condition and helps separate cleaning needs from unfinished work or damage.
Post Construction Cleanup Guide: Work From High to Low
Construction dust travels. It collects on ceiling fans, light fixtures, ledges, wall trim, cabinet tops, and air vents before it reaches the floors. Starting with the floor only means you will need to clean it again after dust falls from above.
Begin with ceilings, vents, fans, light fixtures, upper shelving, and crown molding. Use a vacuum with a HEPA filter when possible, then wipe surfaces with a clean microfiber cloth. Avoid dry dusting with old towels or feather dusters, which can push fine particles back into the air.
Next, clean walls, doors, baseboards, cabinets, counters, and interior glass. Finish each room with floors last. This top-to-bottom method keeps the work organized and delivers a noticeably cleaner result.
Handle Fine Dust Carefully
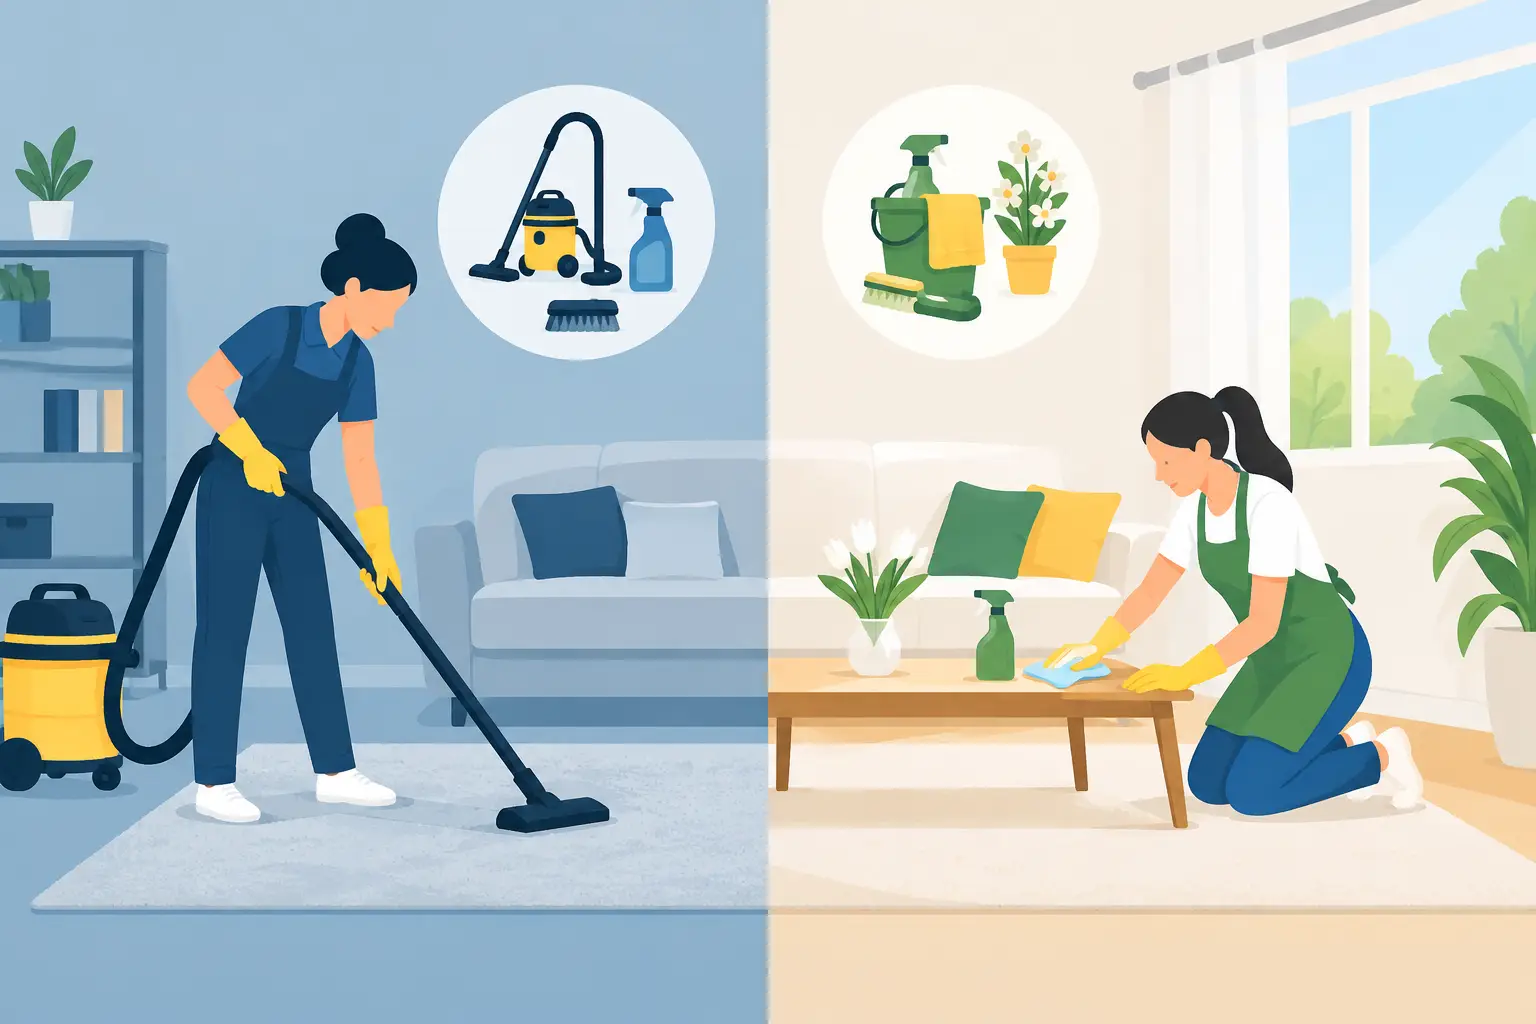
Drywall, grout, wood, and concrete dust can be extremely fine. A standard vacuum may not capture it effectively and can sometimes release particles back into the room. A HEPA-filter vacuum, clean microfiber cloths, and frequent filter checks make a real difference.
For hard surfaces, use lightly damp microfiber cloths rather than soaking them. Too much water can turn dust into a muddy film, especially on textured walls, unfinished wood, and grout lines. Rinse or replace cloths often so you are lifting dust instead of spreading it.
If the property has central air, replace or inspect the HVAC filter after the cleaning is complete. Dust trapped in the system can continue circulating through a clean room for days.
Remove Construction Debris Before Detailed Cleaning
Large debris should be removed before detail work begins. Look for screws, nails, broken tile pieces, wood scraps, plastic wrap, cardboard, and packing materials. Wear closed-toe shoes and gloves during this stage, particularly on active job sites or properties with unfinished flooring.
Do not assume every item left behind is trash. Set aside labeled materials, extra flooring planks, paint cans, hardware, manuals, and appliance parts for the owner or contractor. Removing a needed item can create an expensive problem after the crew has left.
Sharp objects, chemical containers, paint products, and construction materials may require special disposal. Never place unknown chemicals or hazardous waste in regular household trash. When in doubt, ask the contractor how materials should be handled.
Clean Windows, Glass, and Fixtures Last
Windows and glass often show the most visible signs of construction work. They may have dust, tape residue, fingerprints, caulk, paint overspray, or protective film still attached. Start by vacuuming window tracks and frames, then wipe them with a damp cloth before cleaning the glass.
Use the right tool for the surface. A scraper may remove paint specks from glass, but it can scratch certain coated windows if used incorrectly. Test a small area first and avoid harsh abrasives. For stubborn adhesive residue, use a product approved for the specific material and follow its directions carefully.
Finish by polishing mirrors, shower glass, chrome fixtures, door handles, and stainless steel. These surfaces are where fingerprints and haze stand out most, especially in bathrooms, kitchens, offices, and rental properties being prepared for guests.
Give Kitchens and Bathrooms Extra Attention
Kitchens and bathrooms are detail-heavy spaces with many surfaces that can hold dust and residue. Open every cabinet, drawer, and closet. Vacuum the interiors and wipe shelves, hinges, handles, and drawer tracks. Check under sinks, behind toilets, and around appliance bases where debris often collects.
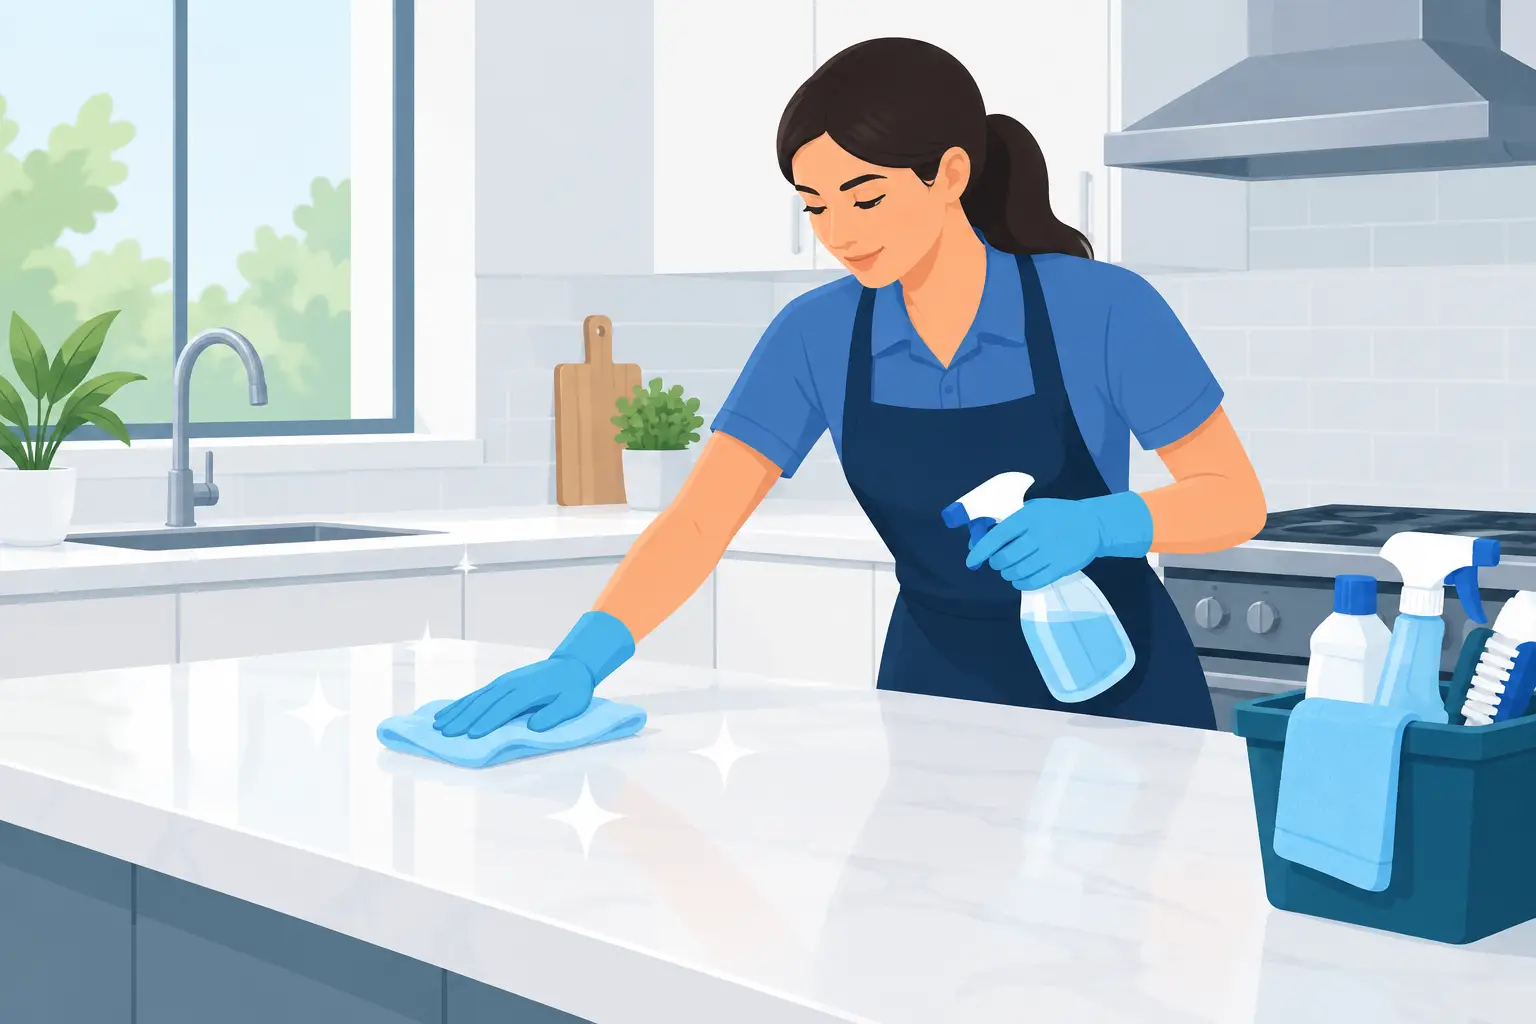
In kitchens, clean countertops, backsplashes, appliance exteriors, sinks, faucets, and inside appliances if they were part of the renovation. Remove protective plastic and stickers only when the owner or contractor has confirmed they are no longer needed.
In bathrooms, clean tile, grout, tubs, showers, toilets, mirrors, exhaust fans, and fixture bases. Construction residue can leave a dull film on tile and glass, so a final polish may be needed after the first cleaning pass.
Protect New Floors and Finished Surfaces
Newly installed surfaces require care. The wrong cleaning product can damage natural stone, hardwood, laminate, luxury vinyl, grout, or freshly painted cabinets. Always identify the material before choosing a cleaner.
Avoid acidic products on natural stone, abrasive pads on stainless steel, and excessive water on wood or laminate. Fresh paint and caulk may also need cure time, so use a gentle touch around edges, trim, and new fixtures.
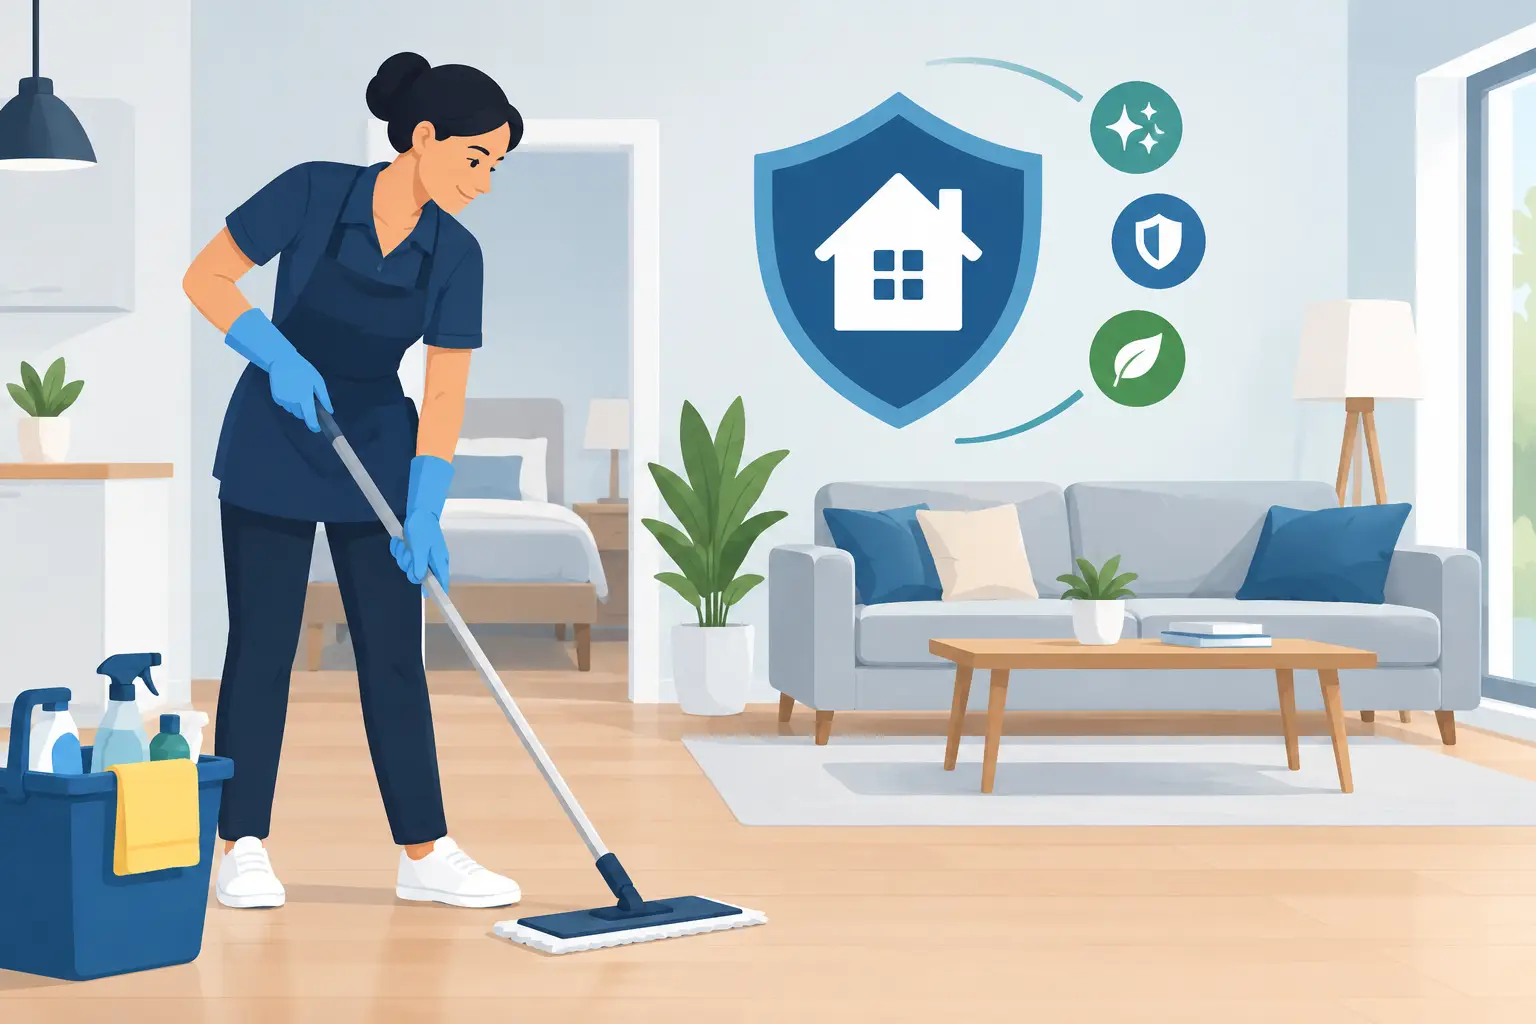
For floors, vacuum first to capture grit that could cause scratches. Then use a manufacturer-approved cleaner and clean mop head. A dirty mop can leave streaks or drag construction particles across a new floor.
Complete a Final Quality Check
The final walkthrough is what turns a basic cleanup into a move-in-ready result. Turn on lights, open blinds, and inspect each room from more than one angle. Natural light often reveals dust on baseboards, streaks on glass, and residue on countertops that overhead lighting misses.
Check high-touch areas such as switches, door handles, cabinet pulls, faucets, appliance handles, and railings. Look inside closets, drawers, cabinets, and window tracks. Vacuum edges, corners, and under appliances where debris can easily be missed.
For commercial spaces, verify that entrances, reception areas, restrooms, break rooms, and visible glass are presentation-ready. For short-term rentals, check that every room looks clean in photos and feels ready for a guest to unpack immediately.
When Professional Post-Construction Cleaning Makes Sense
A small paint refresh may be manageable for a homeowner, but larger projects often require more time, equipment, and attention than expected. Whole-home renovations, new builds, occupied office remodels, and rental turnovers can produce dust in places that are difficult to reach without a systematic process.
Professional cleaning is especially helpful when deadlines are tight, the property must pass a final walkthrough, or the space is being prepared for tenants, employees, buyers, or guests. Roenter Clean provides detailed post-construction cleaning for Palm Beach County properties that need a polished, ready-to-use finish without adding more work to an already busy project.
A clean finish protects the impression of the work that was completed. Once the dust is gone, the glass is clear, and every surface has been checked, the space can finally look the way it was meant to look.