

At 8 a.m., the remodeling crew had finished a Palm Beach home renovation: new kitchen cabinets, fresh paint, replaced flooring, and updated bathrooms. The work looked complete, but the home was not ready to use. This post renovation cleaning case study shows what remained after the contractors left and how a detailed cleaning process turned an active job site into a clean, move-in-ready home.
The homeowner had scheduled furniture delivery for the next day. That left a short window to remove fine dust, adhesive residue, paint specks, packaging debris, and fingerprints without damaging brand-new finishes. The goal was not a quick tidy. It was a careful reset that made every room look finished.
Post Renovation Cleaning Case Study: The Starting Point
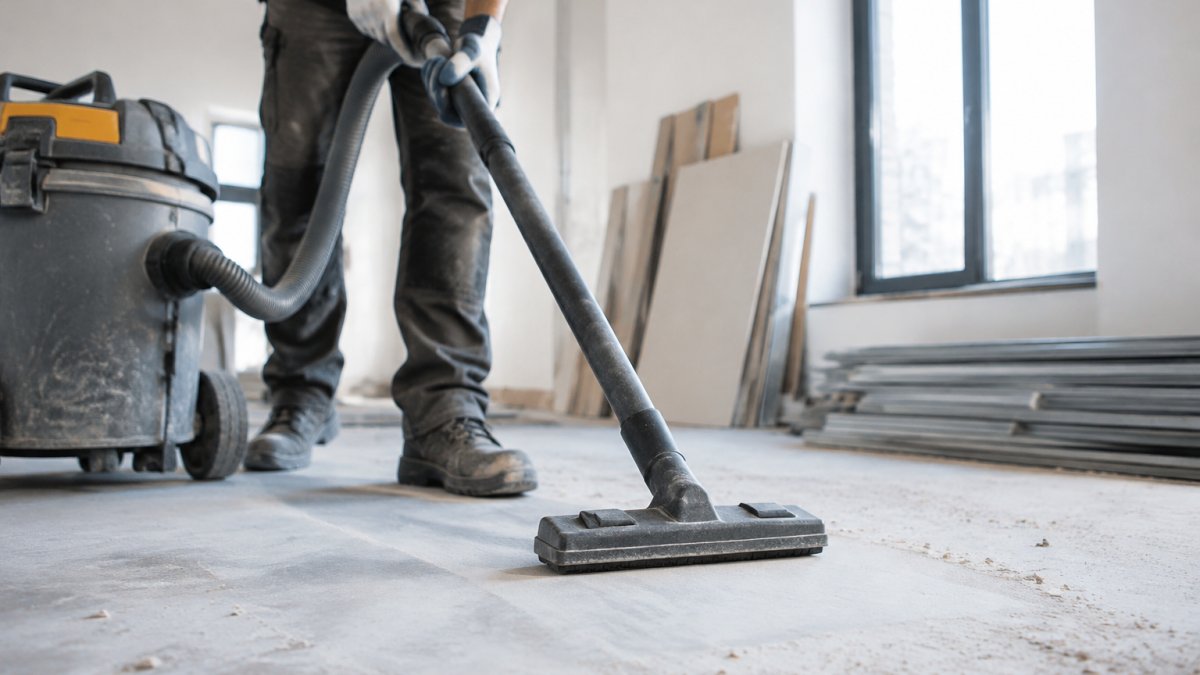
The renovation covered the kitchen, two bathrooms, the main living area, and several connecting hallways. Protective paper had been removed from the floors, but construction dust remained in corners, vents, cabinet interiors, window tracks, baseboards, and light fixtures. A fine film was also visible on countertops and inside the new drawers.
This is common after renovation work. Larger debris is usually hauled away by the construction crew, but the final layer of dust settles long after cutting, sanding, drilling, and unpacking have stopped. It moves into places that are easy to miss during a casual walkthrough, including closet shelves, switch plates, door frames, and the tops of cabinets.
The homeowner’s biggest concern was the new flooring. Any cleaning method had to remove dust and residue without leaving excess water, dull streaks, or scratches. The team also needed to avoid harsh products on the quartz counters, painted cabinets, polished fixtures, and fresh grout.
Why a Standard Cleaning Was Not Enough
A standard recurring cleaning is designed to maintain an already lived-in space. Post-renovation cleaning is different because the soil is different. Fine drywall dust can resettle after an initial wipe-down. Stickers, caulk smears, paint drops, and adhesive residue require targeted treatment. New surfaces also need careful product selection.
Cleaning too aggressively can create new problems. Scrubbing a finish with the wrong pad may leave marks. Flooding a new floor with water can affect seams or edges. Using a strong chemical before checking the manufacturer’s care guidance may damage stone, metal, or coated surfaces. The right approach depends on the materials installed and the amount of construction activity that took place.
The Cleaning Plan Before Work Began
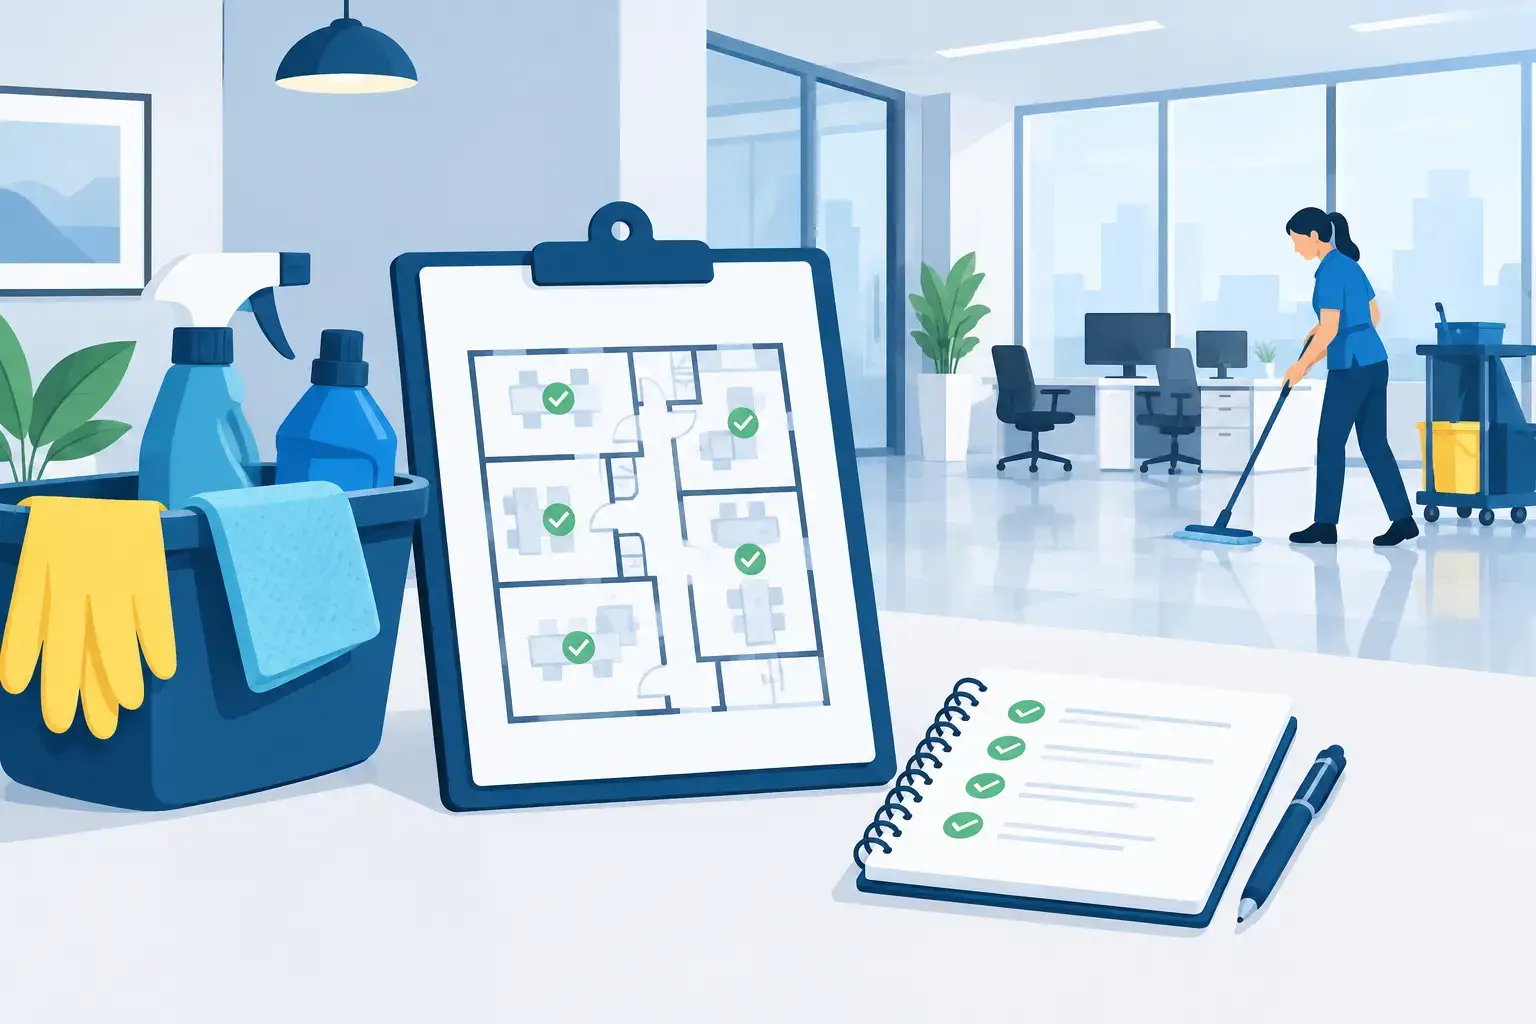
Before cleaning started, the team walked the home room by room with the homeowner. This assessment identified priority areas, delicate finishes, and any items that should be addressed by the contractor instead of the cleaning crew. For example, a paint touch-up, damaged cabinet panel, or incomplete grout line is not a cleaning issue. Flagging those items early helps prevent confusion later.
The work was organized from high surfaces to low surfaces and from dry dust removal to damp wiping and final detailing. That order matters. Cleaning floors first and then dusting ceiling fans, vents, and upper cabinets only creates more work.
The team also confirmed that utilities were on, trash removal was complete, and the rooms were accessible. A post-construction cleaning appointment can take longer when contractors are still working, materials remain stacked in the space, or wet paint and caulk need curing time. In this case, the work area was clear, allowing the crew to move efficiently through the home.
Removing Dust Without Spreading It
The first pass focused on dry removal. The team used HEPA-filter vacuuming and microfiber tools to capture dust rather than pushing it into the air. Ceiling vents, fan blades, trim, window sills, shelves, blinds, and cabinet interiors were addressed before lower surfaces.
Cabinet drawers and shelves received special attention. Although they appeared clean at first glance, fine dust had settled inside during installation. Each surface was vacuumed, wiped with an appropriate cloth, and checked again before the drawers were closed.
In the bathrooms, the team cleaned dust from vanity interiors, mirrors, fixtures, tile ledges, and shower tracks. New bathroom finishes can show residue quickly, especially under bright vanity lighting. The final inspection included looking at surfaces from different angles so haze, fingerprints, and streaks did not get missed.
Tackling Residue and Detail Work
Once loose dust was under control, the crew handled the marks that required more care. Small paint specks on protected surfaces were tested in an inconspicuous area before removal. Adhesive residue from labels and protective films was treated with surface-safe methods. Glass was cleaned after surrounding trim and frames to prevent dust from settling back onto it.
The kitchen required the most detailed work. Countertops were cleaned with products suitable for the installed material, then dried to prevent streaking. Cabinet fronts, handles, hinges, toe kicks, and appliance exteriors were wiped down. The team checked inside the microwave, refrigerator, dishwasher, and oven to make sure packaging material, labels, and installation debris had been removed where appropriate.
New windows often need more than a quick spray and wipe. Dust collects in tracks, corners, and screens during construction. Removing it improves the finished look of the room and helps prevent debris from being dragged across the glass during cleaning.
Floor Care and the Final Reset
Flooring was saved for the final stage. The team vacuumed edges, corners, and transition areas carefully before using the correct method for the installed floor type. This minimized the chance of grit scratching the surface during damp cleaning.
The key trade-off was speed versus protection. A faster, one-pass floor clean might look acceptable from the doorway, but leftover dust becomes visible when sunlight hits the room or when furniture is moved in. A more careful approach took additional time, but it gave the homeowner clean surfaces that were ready for rugs, furniture, and daily use.
After floors were completed, the team performed a final quality check. They opened cabinets and closets, inspected mirrors and glass for streaks, checked baseboards, and looked for dust at vents, switches, door frames, and corners. Trash and cleaning materials were removed so the home felt finished rather than simply cleaned around.
The Results for the Homeowner
By the end of the appointment, the home no longer had the dry, dusty feel of a recently completed project. The cabinets were clean inside and out, the bathrooms were polished, the kitchen was ready for food and appliances, and the floors were free of visible construction residue. The homeowner could accept furniture delivery the next day without worrying that dust would transfer onto new items.
The most noticeable difference was not one single surface. It was the overall presentation. Fresh paint looked cleaner without dust clinging to it. New fixtures reflected light properly. Floors showed their actual color and finish. That is what detailed post-renovation cleaning is meant to deliver: a space that looks ready to live in, not a renovation that has just ended.
For property managers, contractors, rental hosts, and homeowners, timing is often the deciding factor. Scheduling cleaning after the final construction work is complete but before furniture, tenants, or guests arrive gives the crew access to every surface. If additional work is still planned, a light cleanup may make sense first, followed by a final cleaning once the project is fully finished.
A clean handoff protects the impression of the renovation and makes the next step easier. Whether the property is a personal residence, an office, or a rental, Roenter Clean can help turn the final construction day into a truly ready-to-use space.